Wedding Countdown

Wedding Countdown Ticker
Showing posts with label wedding. Show all posts

Tuesday, October 19, 2010

Just Married!!

We got hitched 10-2-10, and I just got home Friday from our amazing honeymoon. I am waiting for all of the photos from the professional photographer, but my friends took some amazing ones. They also came through for us, helping us over the wedding weekend in a million ways.

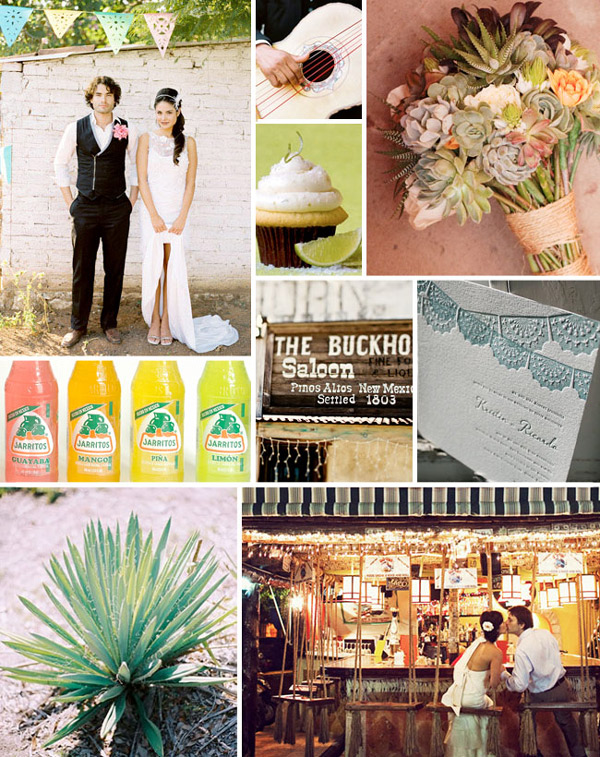
Our wedding was Dia de Los Muertos and papel picado inspired and very eclectic! We held it at some cabins on the river in the Texas Hill country owned by a fabulous collector who also owns a costume shop.

I have a lot of DIY stuff to share here, too, over the coming days, but my favorite by far was my bouquet. With the help of an old college friend and a group of girlfriends drinking coffee, I made my bouquet the morning of the wedding and LOVED it. It has a sterling silver double heart charm my dad made attached with the aqua ribbon and turquoise peacock flowers!


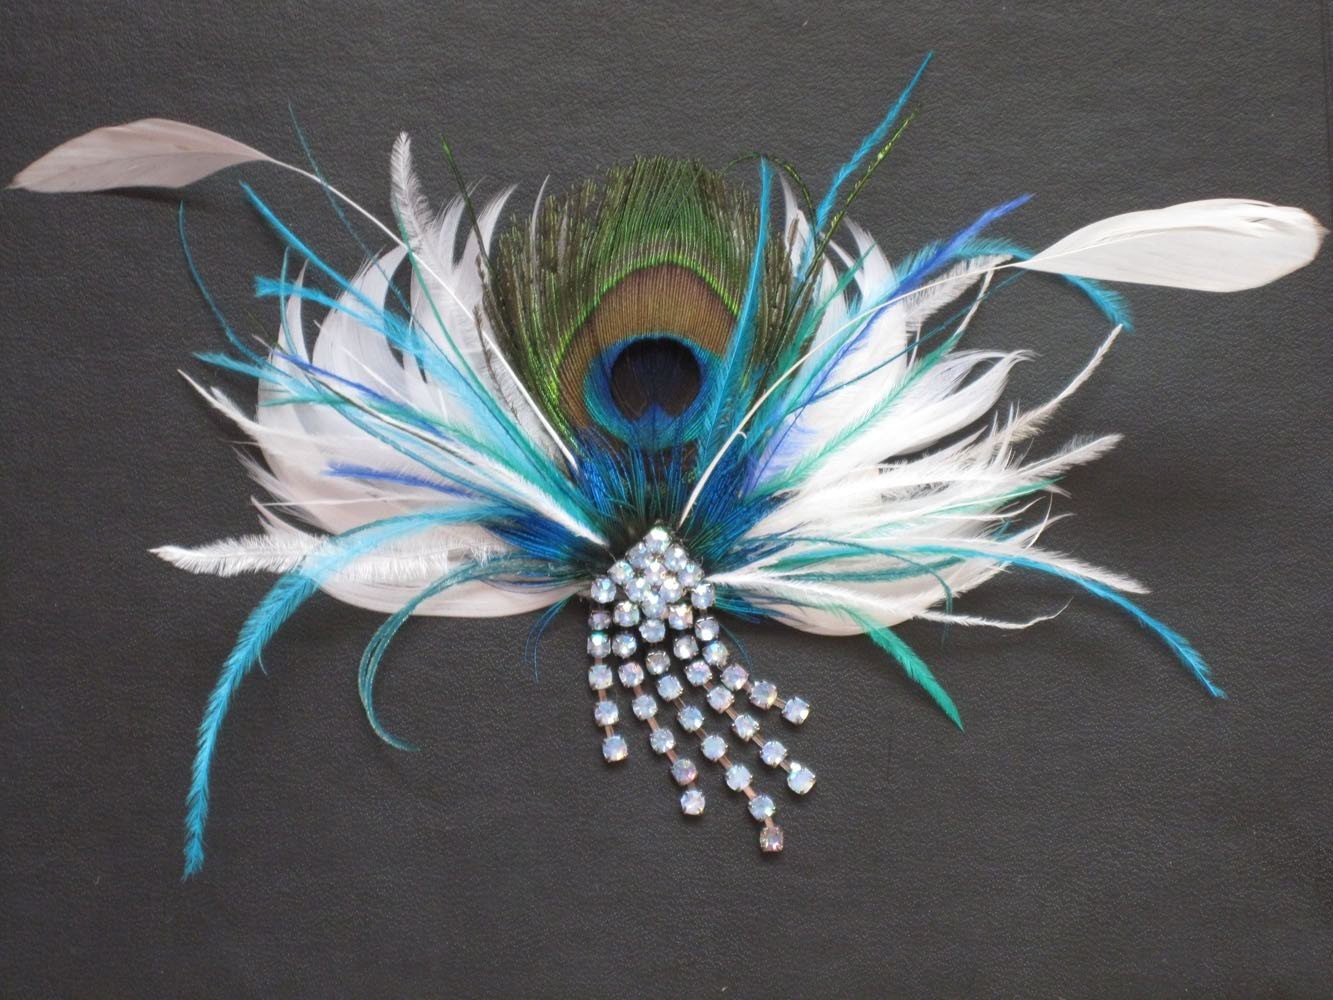
The lovely ceremony site down by the San Gabriel River. You can see the bouquet and hair accessories I made. I love our smiles in this one. Our good friend officiated a sweet, Buddhist-inspired ceremony we wrote.

You can see the awesome Gypsy-Yiddish style trio Mazel Tov Kocktail Hour behind us.
They played, "All You Need is Love," as we marched up the aisle:


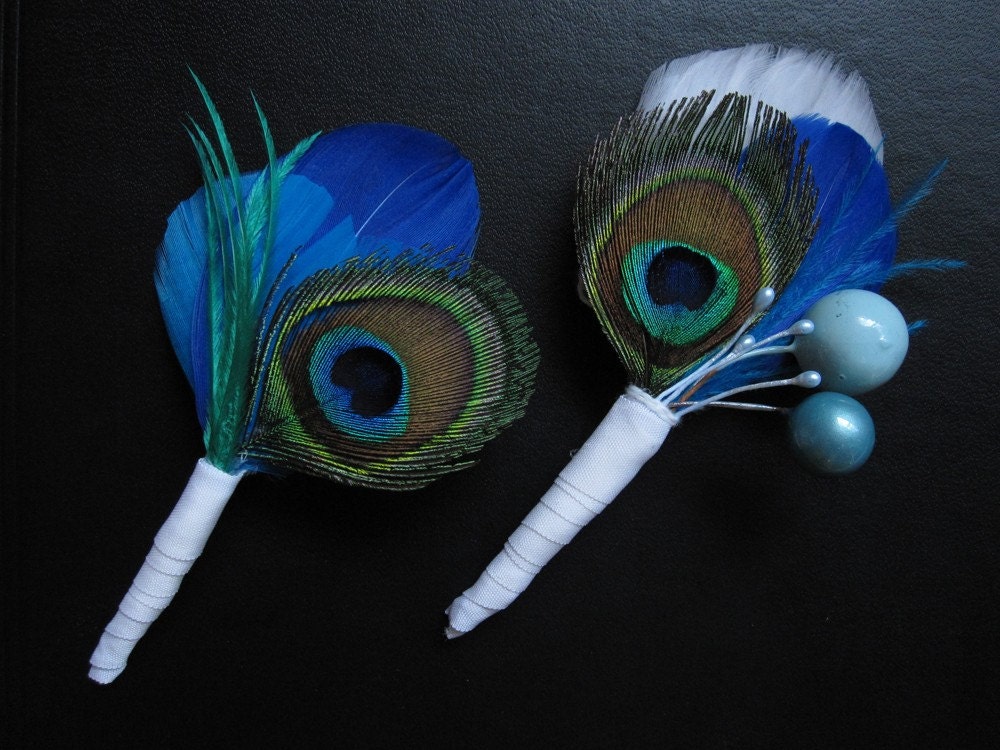
You can also see the boutonnieres I made with paper flowers and feathers!


We were serenaded with a waltz for our first dance, which was spontaneous and dreamy!


We were told that it was a very sweet wedding and was very "us" so I am really happy with the way it turned out.

It also appears everyone had a blast...!


Tuesday, September 21, 2010

Love this inspiration board

Our own wedding is 11 days away! Aye, aye, aye!!!

Friday, September 3, 2010

Our Very Own Inspiration Board

Our wedding is starting to look over the top! I think it will all balance out though. Less than a month to go! Holy smokes!

Monday, August 30, 2010

Focus on the Ceremony

Crossposted from The Wedding Chicks blog I wrote

As a DIY bride,  I have been crafting up a storm and making things for our wedding left and right, as you can see below. A huge part of us will be in the wedding, but now with a month left, we’re finally focusing on the ceremony with full attention, which at the end of the day is the most important part, isn’t it?. As a non-denominational/Buddhist-leaning couple, we chose a good friend to officiate for us. But that also means that the ceremony is entirely up to us.  From scratch.

So how do you start?

I started with some personal vows I scribbled seven months ago after a couple of margaritas. With minimal cleanup, they are actually really quite good. And when my fiance re-read them today, I got an e-mail in my inbox from him that was so sweet, it made me tear up!

So if you like margaritas, you can always go that route!

I’ve scoured tons of books and web sites about traditional (and non-traditional) ceremonies and vows and ceremony structure. To be honest, I started by reading the original Offbeat Bride’s very own ceremony. The Offbeat Bride site has a lot of articles and help with ceremonies. This article is also helpful from Weddingbee.

I have borrowed, copy, and pasted the heck out of a google doc! I like the google doc because it’s easily shared between computers and my fiance and our officiant.

Seeing the structure, then piecing in the parts of vows and ceremonies we like and rewriting and tweaking to reflect ourselves is the process that’s working for us. We have a month to polish them up!

Friday, July 2, 2010

Who knew our wedding colors are so on trend!

My favorite color, turquoise, got picked as the Pantone color of the year.


Pantone Color of the Year for 2010: PANTONE 15-5519 Turquoise

Turquoise Transports Us to an Exciting, Tropical Paradise While Offering a Sense of Protection and Healing in Stressful Times

Thursday, June 24, 2010

Wouldn't It Be Nice...?

Wouldn't it be nice if we were older
Then we wouldn't have to wait so long
And wouldn't it be nice to live together
In the kind of world where we belong

You know its gonna make it that much better
When we can say goodnight and stay together

Wouldn't it be nice if we could wake up
In the morning when the day is new
And after having spent the day together
Hold each other close the whole night through

The happy times together we've been spending
I wish that every kiss was never ending
Oh Wouldn't it be nice

Maybe if we think and wish and hope and pray it might come true (run, run, run)
Baby then there wouldn't be a single thing we couldn't do
We could be married (we could be married)
And then we'd be happy (then we'd be happy)

Wouldn't it be nice (ba ba ba ba ba ba ba ba)

You know it seems the more we talk about it
It only makes it worse to live without it
But lets talk about it
Oh, wouldn't it be nice

good night my baby
sleep tight my baby

good night my baby
sleep tight my baby

good night my baby
sleep tight my baby

good night my baby
sleep tight my baby

Tuesday, June 22, 2010

Flowers puchased!

Hooray! One more thing off the list! Thanks Costco!
Mike's gonna DIY us some mason jar vases for the altar...


Monday, June 21, 2010

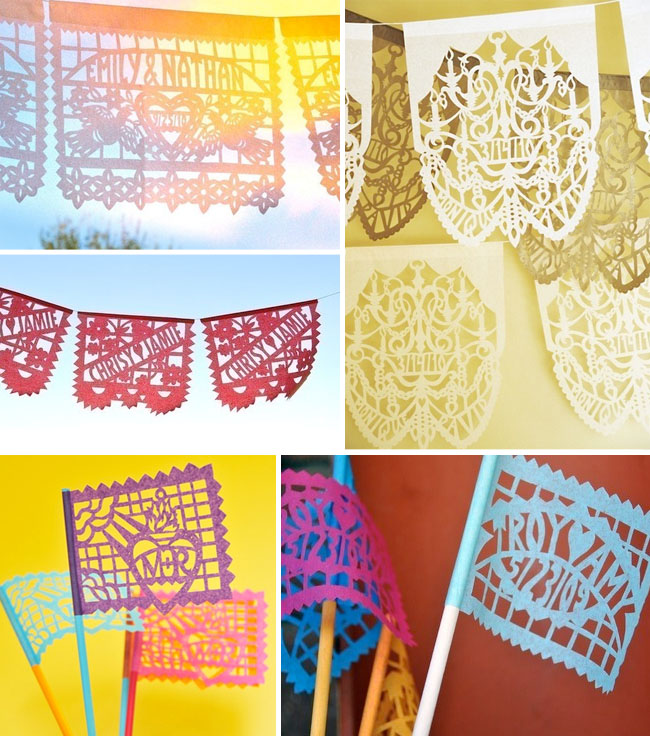
Super Inspiring - Details and Invitations...

Barcelona Letterpress Wedding Invitation Inspiration


Inspiration Board #25 : Cinco de Mayo


Cut-It-Out Custom Wedding Invitations


Papel Picado Imprintable


Love Birds Wedding Invitation - Aqua


Thursday, June 10, 2010

crepe flowers

Totally gonna do this! I foresee a craft night!

Friday, May 7, 2010

Wow, I love this wedding's creativity! (And those shoes!!!)


Golriz + Devon :: Trailer from Jeffrey Holland :: FFDC on Vimeo.

Monday, April 12, 2010

Creating Your Wedding Concept - Project Wedding

Creating Your Wedding Concept - Project Wedding

How do you sift through wedding inspiration to create an event that's a true reflection of you as a couple? (expert advice)


How do you sift through all the wedding inspiration to create an event that's a true reflection of you as a couple? With so many ideas out there, it's easy to get overwhelmed when planning your big day. Sometimes the wedding industry or even family and friends have their own ideas of what your wedding should look like...

Wednesday, April 7, 2010

Affordable DIY Save the Date Postcards

I'm cross-posting this from my other craft blog... After I started talking to the blogger behind Oh So Beautiful Paper (a great site!) after commenting on the Spanish Garden Party Save the Dates post because I was loving on their Save the Dates ( I have yet come to calling them STDs as it seems many wedding bloggers, do!) and color scheme.

I thought I'd share with you my easy way to make Save the Date postcards on the cheap

All it took was a little design research into what I liked, a little dabbling in Photoshop, a papel picado graphic that I tinted to match some aqua paper flowers I am using since we are having a bit of a fiesta/Dia de Los Muertos theme, a fun carnival font from 1001Fonts.com.

I was able to order 100 postcards for less than $37 at Vistaprint!! (Not including shipping and handling).

Now if only addressing and mailing them was that easy! Thanks to google docs' address web form, I am having some help with getting my address book into fighting shape.


Thursday, April 1, 2010

Google Wedding Docs & Save the Dates!

ust discovered Google Wedding Docs today, and thought I'd share them, in case any other bride is reading along. My favorite is a form you can email to get address updates from friends and family. Perfect, because we need to send out Save the Dates soon!

Here are the Save the Dates, I designed! Check out VistaPrint for affordable postcard printing...

Final Save the Date!

Wednesday, March 31, 2010

Love this idea... at Ruffled

Entry #17: DIY Faux MilkGlass Centerpieces

Tuesday, February 16, 2010

Lots of inspiration at this shop...

RadoKri Fashion Accessories: http://www.etsy.com/shop/radokri

Monday, February 15, 2010

Geez.

This is effin' nuts.

Ka-ching! Wedding price tag nears $30K
Survey: Bridal spending tops $125 billion; parents less likely to foot ballooning bill.
May 20, 2005: 4:38 PM EDT
By Grace Wong, CNN/Money staff writer
The rising cost of saying 'I do'
Couples today spend more than double on their wedding photography and videography than their counterparts did in 1999.
Category 2005 average cost Change from 1999 
Engagement ring $4,146 39% 
Photography/videography $2,570 103% 
Ceremony/reception music $1,250 68% 
Rehearsal Dinner $1,153 51% 
Flowers $1,121 45% 
 Source:  The Fairchild Bridal Group
NEW YORK (CNN/Money) - Engaged couples can expect to hear more than the "bling bling" bouncing off the bride-to-be's ring -- they'll also hear the ka-ching of the cash register as the average cost of a wedding soars to $26,327, according to a new survey.
A total of $125 billion -- about the size of Ireland's GDP -- will be spent on 2.1 million weddings in 2005, according to the "American Weddings" study conducted by The Fairchild Bridal Group. Fairchild surveyed more than 1,000 brides.
Tying the knot used to involve a trip to the altar and a simple reception, but low-cost affairs are increasingly a thing of the past as brides and grooms flex their consumer power and buck tradition. The average price tag that is fast approaching $30,000 represents a 73 percent increase during the past 15 years, according the study.
"The bridal industry is now a life stage that encompasses fashion, travel, home furnishings and more," Daniel Lagani, vice president and publisher of the Fairchild Bridal Group, said.
Furthermore, brides and grooms -- who on average range between the ages of 27 and 29 -- are older than their counterparts were 15 years ago. As more experienced, sophisticated consumers, they know what they want and are willing to stretch their budget to get it.
Nearly half of all couples will end up spending more than they originally budgeted. But customizing a wedding to meet individual tastes doesn't always mean breaking the bank, the survey found.
For example, about 9 percent of couples will hold a "destination wedding," which involves the entire party traveling to a special location for the celebration. These couples spend on average 41 percent less on their receptions than those who have an average wedding, according to the survey.
When the party's over, someone has to pay the bill -- and with age, comes greater responsibility. This year only a quarter of brides will count on mom and dad to pick up the tab. Instead, nearly one-third of brides and grooms will forgo tradition and foot the entire bill themselves.
Marriage and money -- How do you talk to your partner about finances? Click here to read more.
Click here to read about one couple's dream wedding.  Top of page

Friday, February 5, 2010

Inspiration...

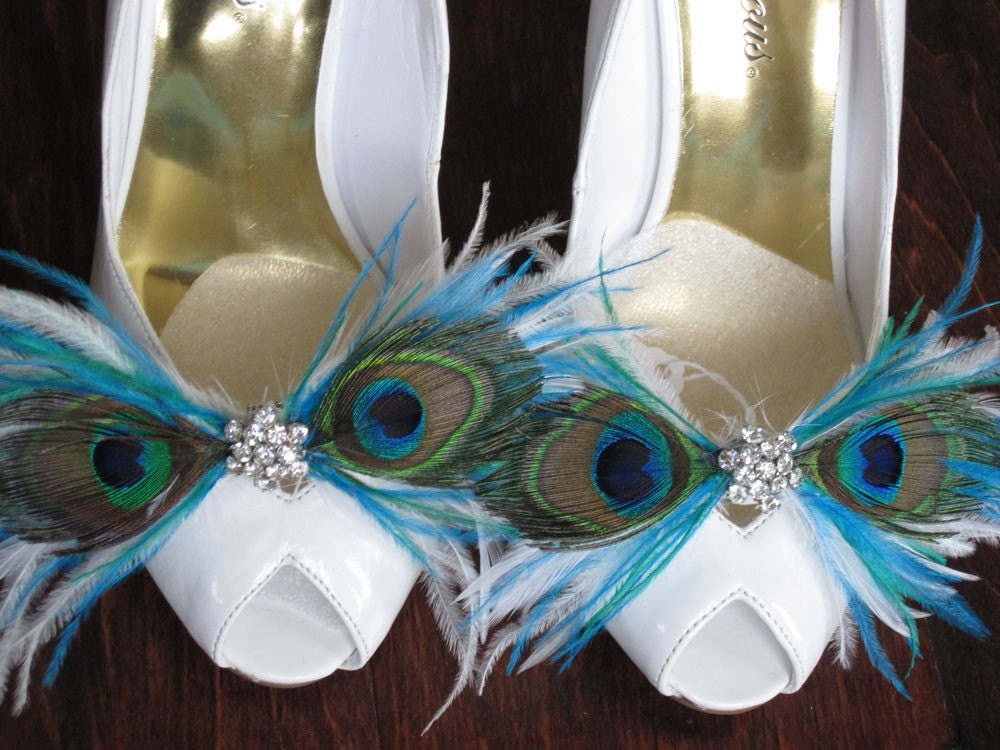
Decisions, Decisions. I need your help!!

Between these shoes -


And these shoes -  
  
I am really leaning toward the former. 

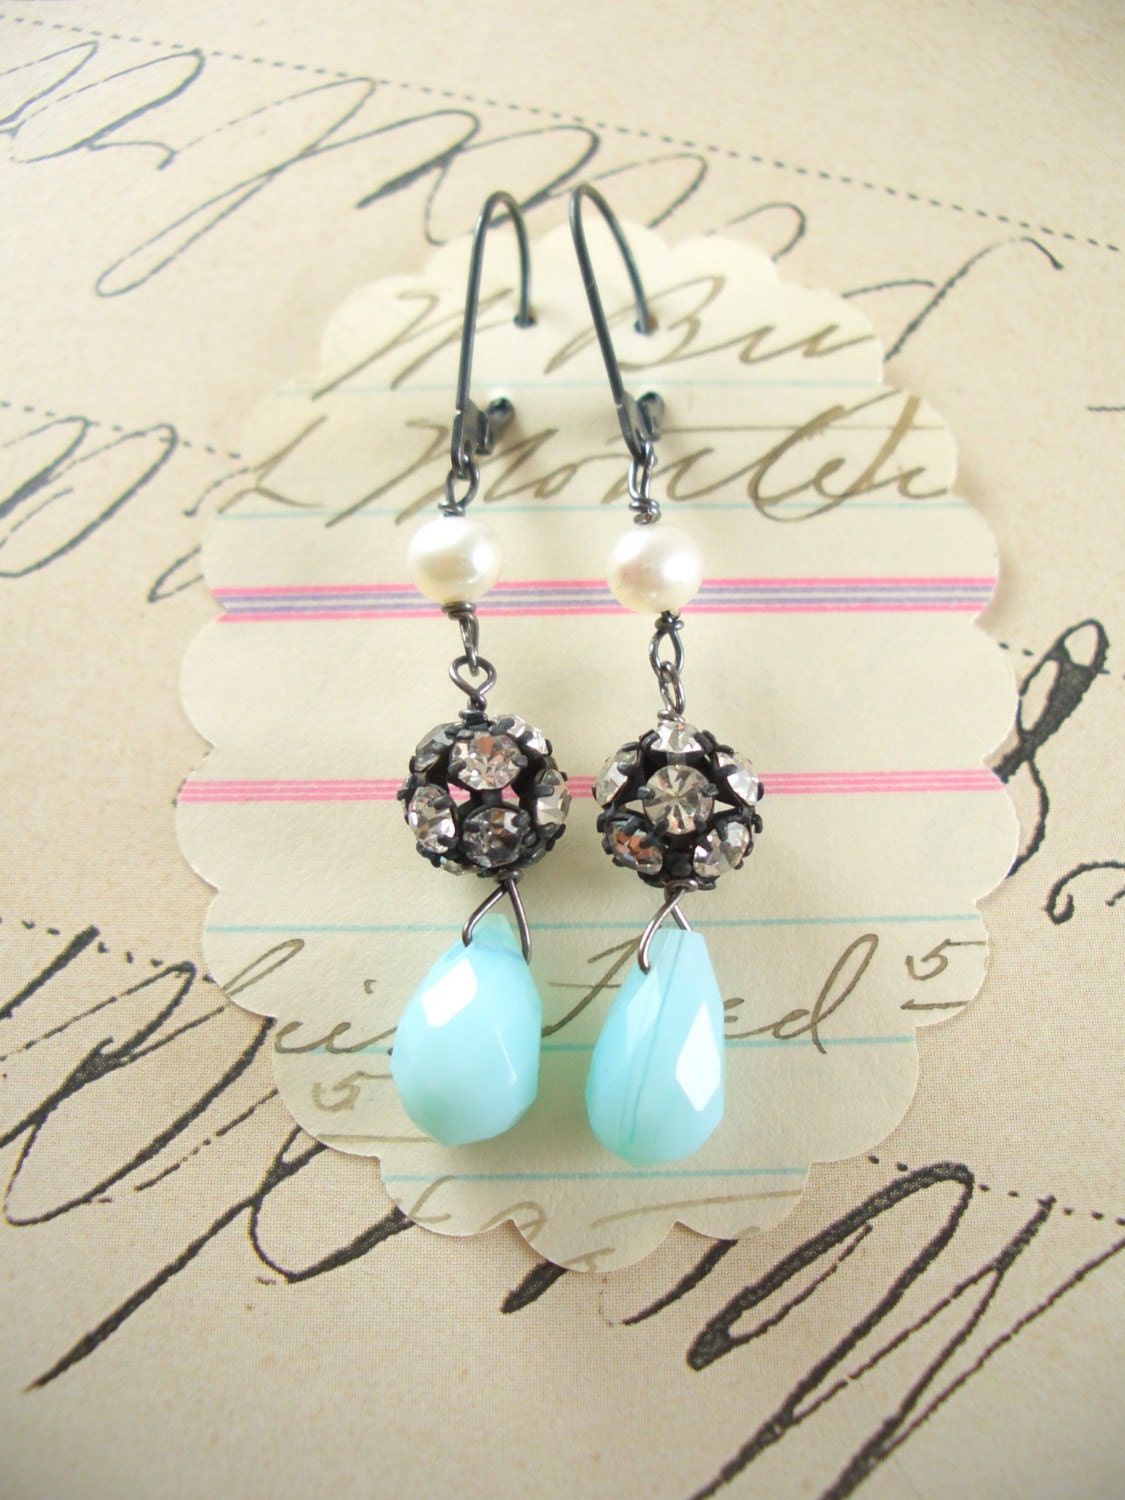
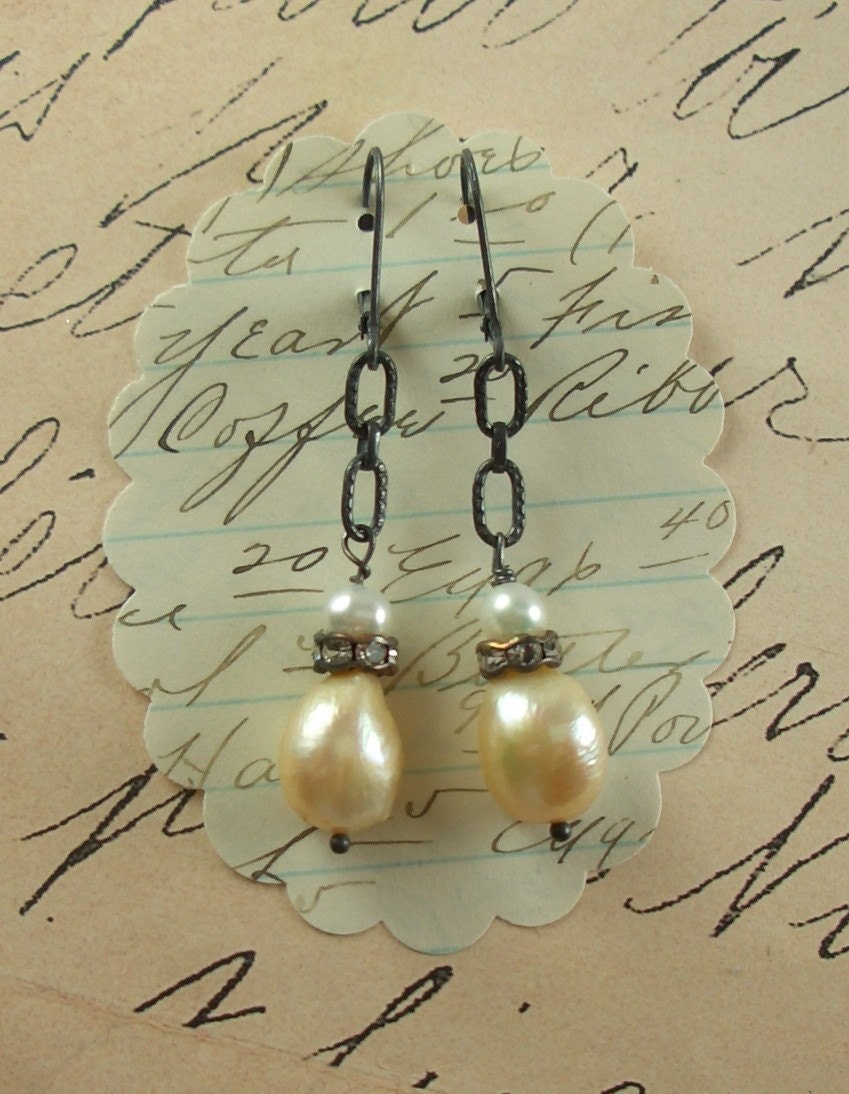
Also, one more choice between two earrings - 


OR- 


(I am wearing my grandmother's pearl necklace.)

I am totally leaning toward the former, there, too. And hell, they're only $20!

Thanks!

Thursday, February 4, 2010

How to make a cake stand for cupcakes or mini cakes

From Cake Journal:

Posted on June 7th, 2007 in Cake Tips, Tutorials
I think when serving cupcakes or mini cakes they look so much better when served on a cake stand. In this tutorial I will show you how to make a cake stand that is very easy and quick to make. You can adapt it to the color or pattern on your cakes. I have used thick gift wrap paper to cover the cake boards. But you could ice your cake boards with rolled sugarpaste/fondant icing instead. Only remember to ice the cake board a few days in advanced so they can dry throughly.
Note: remember when you have assembled the cake stand with cakes on it, not to move it around too much.
This is what I have used:

Cake boards: 1×8″, 1×10″, 1×12″
Note: if you want one more tire on the stand. You will need 1×14″ cake board.Polysthyrene cake dummies 2″ high: 2X5″ and 2×6″
Note: You will need 2×7″ polysthyrene cake dummies for one more tire.
Satin ribbon for the cake board and the polysthyrene cake dummies
Thick paper or sugarpaste/rolled fondant icing
Glue stick and regular glue
Note: use school glue
Metal pins
Sharp scissor
pencil
Step 1:
Start by glue the dummies together. So they can dry completely.

Step 2:
Take your chosen ribbon, and attach it on the dummies with a metal pin.
Note: you can also glue the ribbon on. But I want to use the dummies again. So therefor I have not glued my ribbon on

Step 3:
When the dummies are dry, start by wrapping the ribbon around them so it slightly overlap all the way to the top.
Note: the metal pin on the picture, was only put in so I could take the picture.

Step 4:
Attach the ribbon with a metal pin.

Step 5:
Lay the cake boards on the choosen paper. Take your pencil and draw a line around the board on the paper. Cut out wih a pair of scissors.

Step 6:
Take the glue stick and add glue throughly all over the board.

Step 7:
Place the paper cirkel on the cake board and rub it lightly.

Step 8:
Now it is time to attache the ribbon to the side of the cake board. Add a metal pin to just keep the ribbon in place.

Step 9:
If you like you can rub a bit of glue on the side so the ribbon stays in place. End by taking the metal pin and attache it to the overlaps.

Step 10:
Now your cake stand is finished.
Note: I have not assembled my cake stand with glue, but you could do that for an extra safety. If you use iced cake boards you can use royal icing to fix it if you like.

On this cake stand I have used 7″, 10″, 13″ but I would recomend to use the cake board size’s above.
IMPORTANT!! If you are having problems finding the materials to make this cake stand. Then please take your time and read through the comment section as you will find links and answers on where to buy the materials.
If you have any problems with the cake stand then please let me know so I can help you out. Also I would love to see your cake stand when it is finished. Maybe completed with cupcakes or mini cakes? So please send a photo :-)
See CakeJournal’s readers own cake stands in the cake stand gallery.
Happy Caking
Louise